Changing Servers Java Version
When you create a server, the Java version that is used is usually going to be correct if you launched the server from the launcher (unless it’s a CurseForge modpack). If however you are using a CurseForge modpack, launching the server manually or just want to change the Java version anyway, the way in which you do it depends on how the server was created.
First you must make sure you have the right version of Java for the version of Minecraft you’re playing.
Java Version Requirements
Section titled “Java Version Requirements”Here’s a table showing which Java version is needed for different Minecraft versions:
| Minecraft Version | Required Java Version | Download |
|---|---|---|
| 1.16 and below | Java 8 | Download |
| 1.17 and 1.17,1 | Java 16 | Download |
| 1.18 to 1.20.4 | Java 17 | Download |
| 1.20.5 and above | Java 21 | Download |
For detailed instructions on how to change the Java version for your server, continue reading below.
For CurseForge Modpacks
Section titled “For CurseForge Modpacks”In order to change the Java version for CurseForge modpacks, you will need to contact the modpack creator for support with how to change the Java version for their server.
As CurseForge modpacks are uploaded by the modpack creator themselves, we have no way of knowing how to change the Java version for their servers.
You may try looking in the server folder for some sort of readme file or some other documentation that may help you, but failing that, please contact the modpack creator for support.
For Everything Else
Section titled “For Everything Else”If you launch the server through the launcher, the launcher will automatically use the correct Java version for the version of Minecraft that the server is using.
If you are launching the server manually or through the command line and you want to use a different Java version, the simplest way is to uninstall all versions of Java from your computer and then install the version you want to use.
Alternatively if you need to have multiple versions of Java installed, you can edit the LaunchServer.bat file if
you’re on Windows or the LaunchServer.sh file if you’re on Linux/OSX as per below.
For Windows
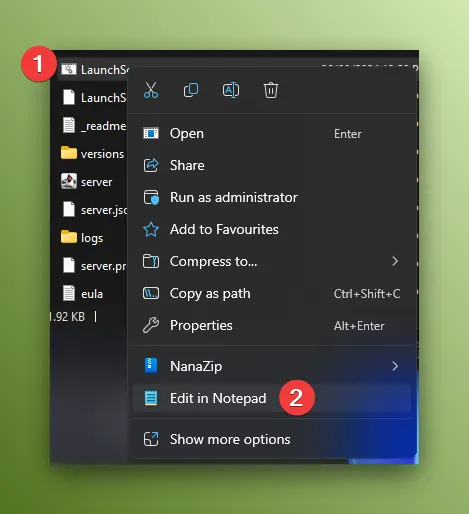
Section titled “For Windows”Once you’ve found the LaunchServer.bat file (note that it may just be shown as LaunchServer if you have file
extensions turned off), you can open it in Notepad. You can also right click the file and click the Edit in Notepad
option if it shows:
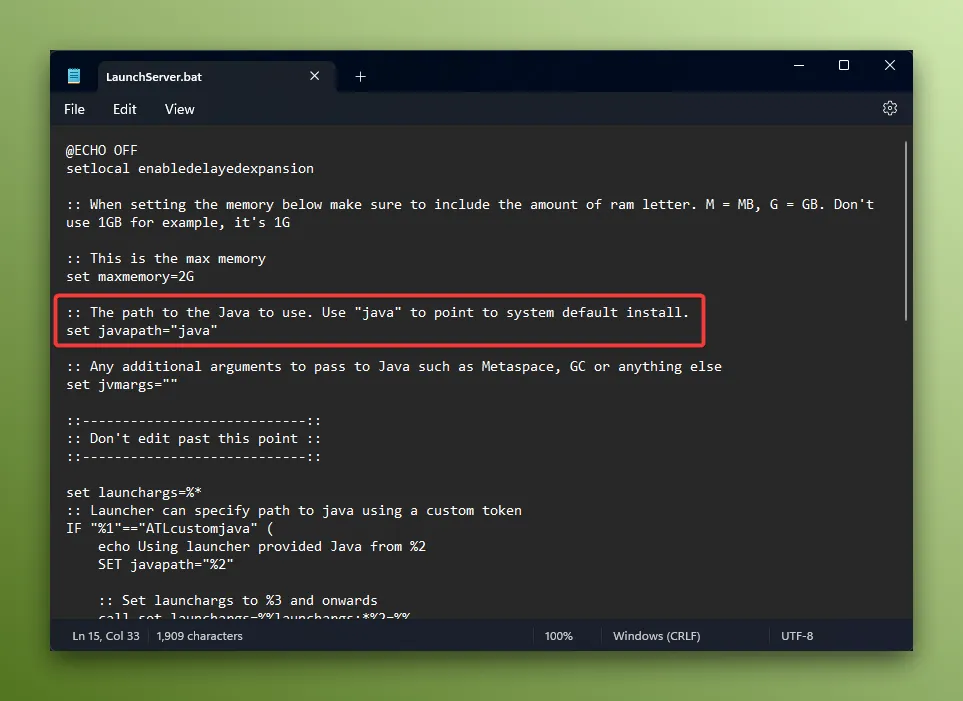
Next you can change the line near the top of the file that says set javapath="java" like below:
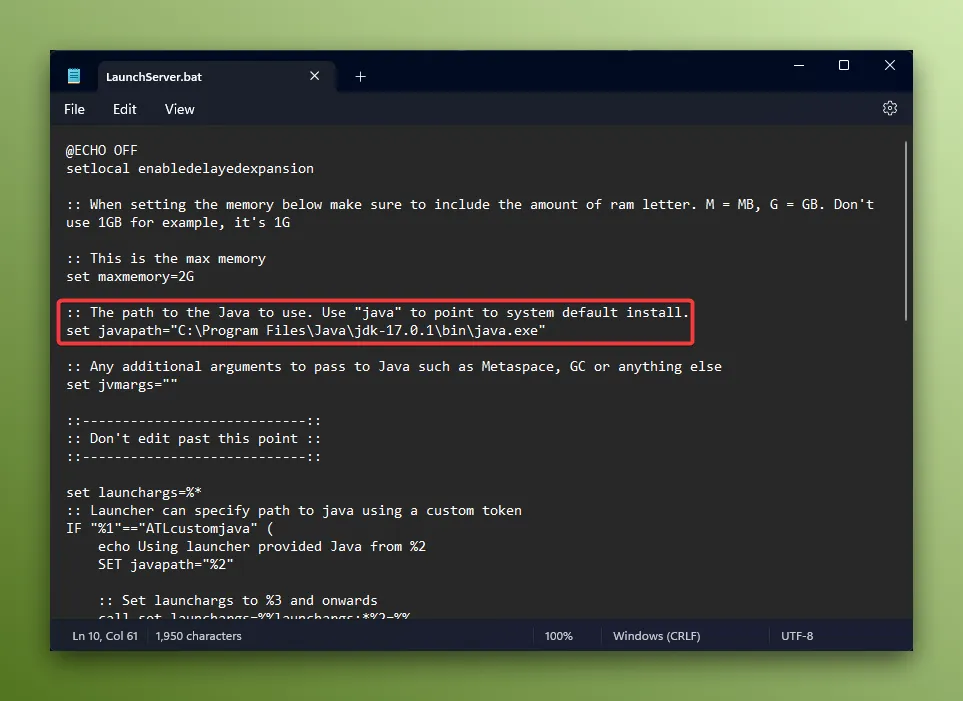
You can change the java value that is there by default to any path to the Java executable that you want to use. For
example, if you wanted to use Java 17 that was installed at C:\Program Files\Java\jdk-17.0.1\bin\java.exe:
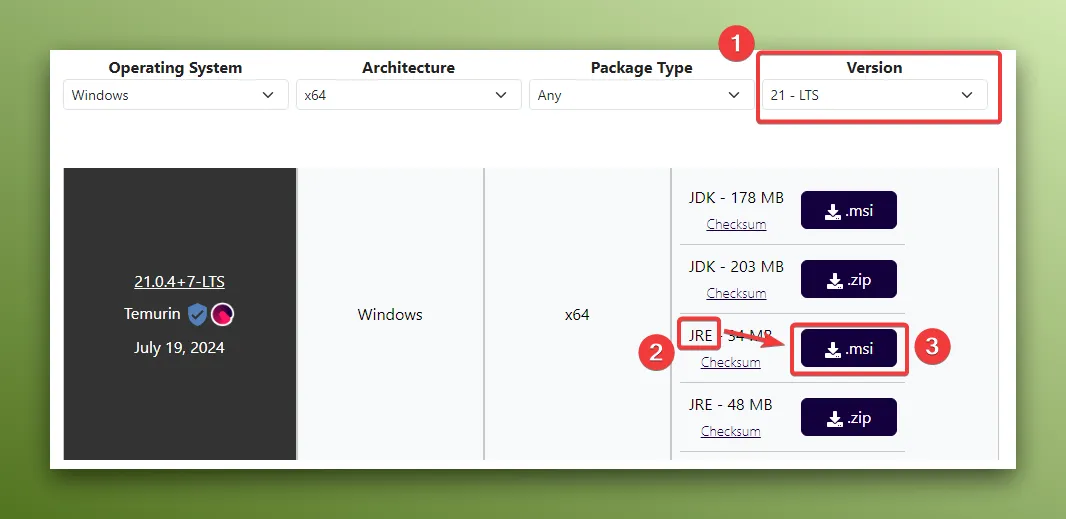
If you don’t already have the Java versions you want installed, you can download them from
Adoptium, changing the Version dropdown to the version you
want to use, and then downloading the JRE .msi file:
For Linux/OSX
Section titled “For Linux/OSX”Once you’ve found the LaunchServer.sh file you can open it in any text editor. Then look for the line near the top of
the file that says JAVAPATH="java":

You can change the java value that is there by default to any path to the Java executable that you want to use. For
example, if you wanted to use Java 17 that was installed at /usr/lib/jvm/java-17-openjdk-amd64/bin/java:

If you don’t already have the Java versions you want installed, you can download them from Adoptium or follow any instructions on Google for your specific operating system.